Cropping vs Background Removal: Which One Do You Need, and When?
Two Completely Different Operations
Many people treat "cropping" and "background removal" as the same thing, but they are entirely different image operations suited to entirely different situations. Pick the wrong one and you'll not only waste time — you won't get the result you wanted either.
Cropping: Discarding Everything Outside a Rectangle
Cropping keeps a rectangular region of the image and throws away everything else — like trimming the edges off a photo with scissors, only in straight lines.
When to crop
- Trim the edges: remove clutter or photobombers around the edge of the frame
- Change the aspect ratio: turn a 4:3 photo into a 1:1 square or a 16:9 wide crop
- Focus on one part: extract the most representative portion of a wide shot
- Standardize sizes: batch images to the exact dimensions a platform requires
What cropping is like
- Cuts along straight lines only; it can't follow an object's outline
- Cropped-away content is permanently lost (unrecoverable)
- Simple to do — every image viewer supports it
Background Removal: Separating the Subject Along Its Outline
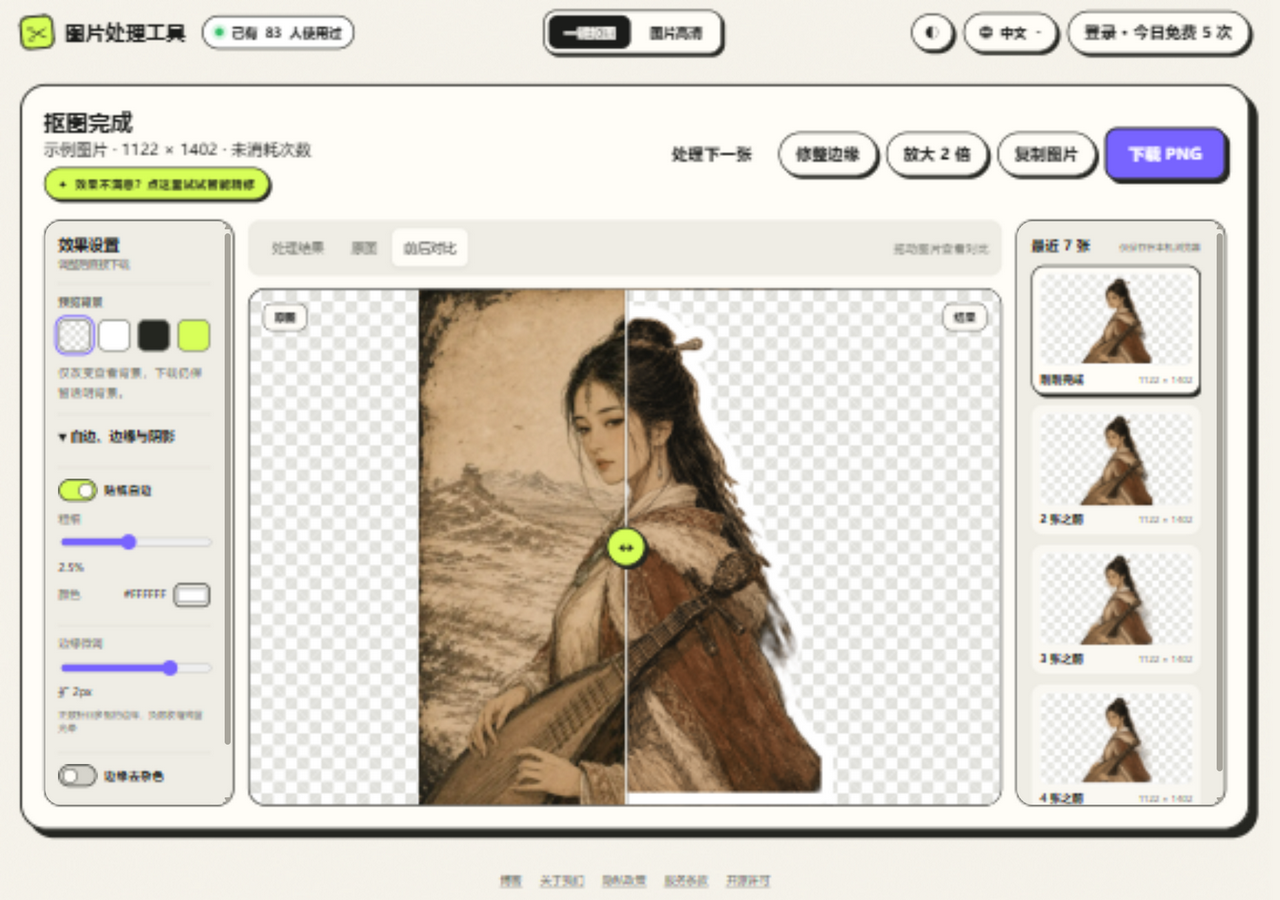
Background removal precisely separates the subject (a person, product, animal, etc.) from its background, and the edge can be any shape — individual hairs, feathers, lace edging. The result is a transparent-background PNG.
When to remove the background
- Transparent assets: for layering in slides, posters, and e-commerce product pages
- Replace the background: lift a person out of the original scene and drop them onto a new one
- Stickers and memes: transparency is what lets you add a white sticker border
- Clean up cluttered shots: cut a product out of a messy scene and place it on a solid background
What background removal is like
- Edges of any shape, accurate down to individual hairs
- Outputs a transparent PNG (PNG-32 format)
- Requires an AI model or professional tools
Side by Side
| Cropping | Background removal | |
|---|---|---|
| Edge shape | Rectangle | Any shape (follows the subject) |
| Output format | JPG/PNG | Transparent PNG |
| Information loss | Cropped areas are gone | Background becomes transparent, subject preserved |
| Tool requirements | Any image viewer | AI tool or Photoshop |
The Best Workflow: Combine Both
In practice, cropping and background removal often work hand in hand:
- Crop first: remove excess areas around the edges so the subject fills 70%+ of the frame (this also improves AI segmentation accuracy)
- Then remove the background: use an online background removal tool to erase the background automatically and get a transparent PNG
- Finish: add a Sticker Border, Natural Shadow, or other effects — or composite onto a new background
FAQ
Q: I just want to remove a watermark in the corner of my photo. Crop or cut out?
If the watermark sits along the edge of the image, cropping is easiest. If it's in the middle, use the smart erase feature in a background removal tool — one click and it's gone.
Q: How do I put my transparent PNG on a white background?
Create a white canvas in any editor and layer the transparent PNG on top. Or use this site's Sticker Border effect (set the color to white and increase the thickness) to generate one directly.