For E-commerce Sellers: How to Shoot Product Photos AI Can Cut Out Perfectly
Why Does AI Nail Some Photos and Struggle with Others?
At its core, an AI segmentation model is deciding "which pixels belong to the product and which belong to the background." The bigger the difference between foreground and background — in color, brightness, and texture — the more accurate that decision becomes.
Here's what commonly makes the AI struggle to see the edges:
- Product and background share the same color: white sneakers on white paper
- Heavy shadows: a shadow the product casts gets mistaken for part of the product
- Cluttered backgrounds: desk clutter, patterned tablecloths
- Transparent or reflective materials: glassware, mirrored products
Pre-Shoot Checklist
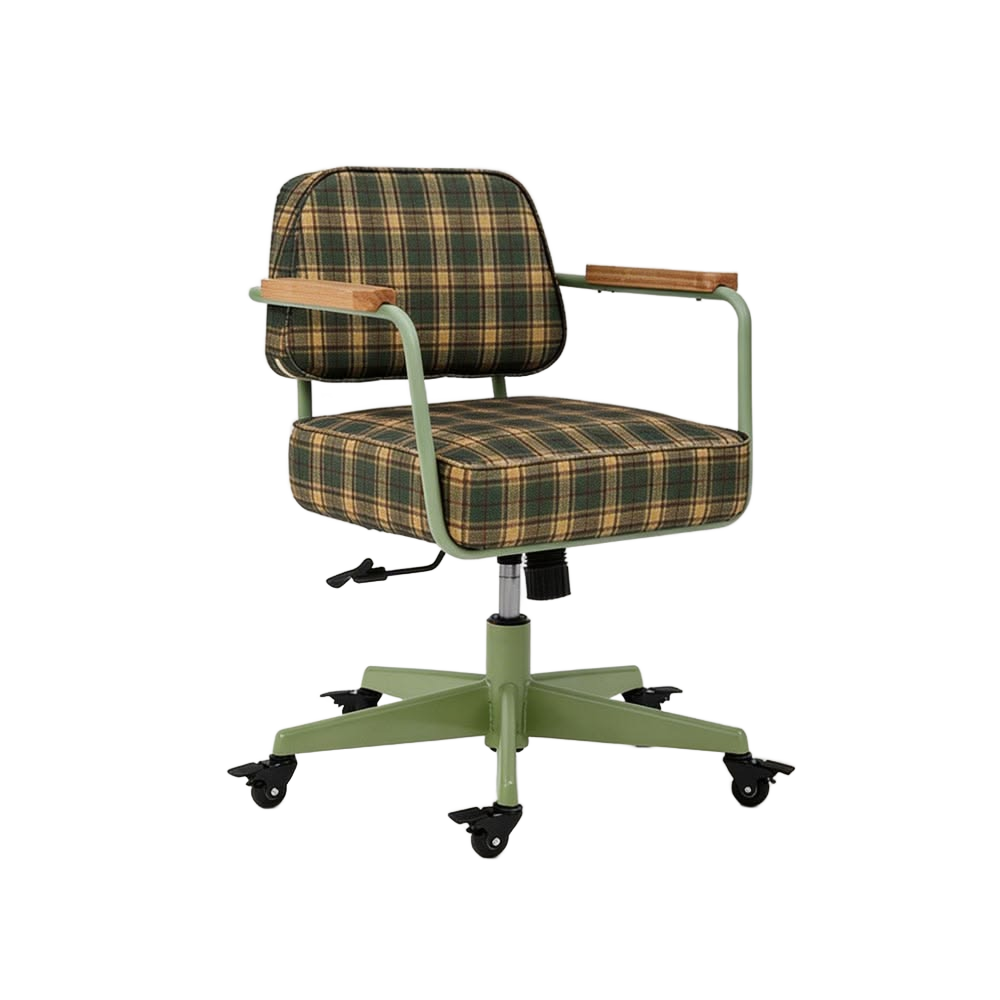
Background
- ✅ Solid-color seamless backdrop paper (white, light gray, or sky blue work best)
- ✅ Keep the background smooth and wrinkle-free
- ❌ Avoid patterns, gradients, and reflections
Lighting
- ✅ Soft, even light (softboxes, a ring light, or window light)
- ✅ Light from both sides to eliminate shadows (or bounce light in with a reflector)
- ❌ Avoid direct overhead light (it creates hard shadows underneath the product)
Angle and Composition
- ✅ Shoot straight-on or at a 45-degree angle
- ✅ Let the product fill at least 60% of the frame
- ✅ Show the product in full, with nothing blocking it
Camera Settings
- ✅ Resolution ≥ 2000 pixels (this site processes up to 2048 on the long edge)
- ✅ Sharp focus — avoid blur
- ✅ Moderate depth of field (a slightly blurred background helps the AI separate layers)
Tips for Tricky Materials
Transparent / Translucent (glass, acrylic)
Transparent items have almost no visual contrast against the background — one of the hardest materials for AI. Recommended:
- Shoot on black velvet (it boosts contrast)
- Light from behind and to the side (to trace the item's outline)
- After the cutout, use “Smart Refine” on this site to touch up the edges manually
Reflective (metal, mirrors)
Reflective surfaces mirror the background color, which confuses edge detection. Recommended:
- Use large, soft light sources (they minimize mirror-like reflections)
- Shoot on a gray background (the most neutral, least interfering color)
Plush / Fibers (stuffed toys, fabric)
Fuzzy edges behave like hair — a semi-transparent transition. Recommended:
- Use a solid dark background for light-colored plush, or a light background for dark plush
- Use this site's cloud high-precision cutout mode (friendlier to complex edges)
- Clean up leftovers with “Edge Cleanup” after the cutout
The Standard Post-Cutout Workflow
- Upload → automatic cutout → inspect the edges
- Leftover pixels? “Smart Refine” → click the extra areas to erase them
- Something wrongly removed? “Smart Restore” → click the area to bring it back
- Background color clinging to the edges? “Edge Cleanup” (strength 55–70)
- Need a white, transparent, or sticker-style background? Set it in the effects panel
- Download the PNG