The Complete Guide to ID Photo Backgrounds: Blue to White, Red to Blue in One Step
Why Change the Background Color?
Different situations demand different ID photo backgrounds: exam registrations often require white, visas blue, social insurance red. Most people only ever have one version shot, and re-shooting every time another color is needed wastes both time and money. Swapping the background with a tool is the fastest, cheapest fix.
Common ID Photo Background Colors
| Background | RGB value | Typical uses |
|---|---|---|
| White | (255,255,255) | National ID cards, passports, visas, civil service exams, CET-4/6 English tests |
| Blue | (67,142,219) | Diplomas, employee badges, resumes, social security cards, campus cards |
| Red | (190,30,45) | Marriage certificates, medical insurance cards, school enrollment (some regions) |
Method 1: One-Click Online Change (Recommended, Free)
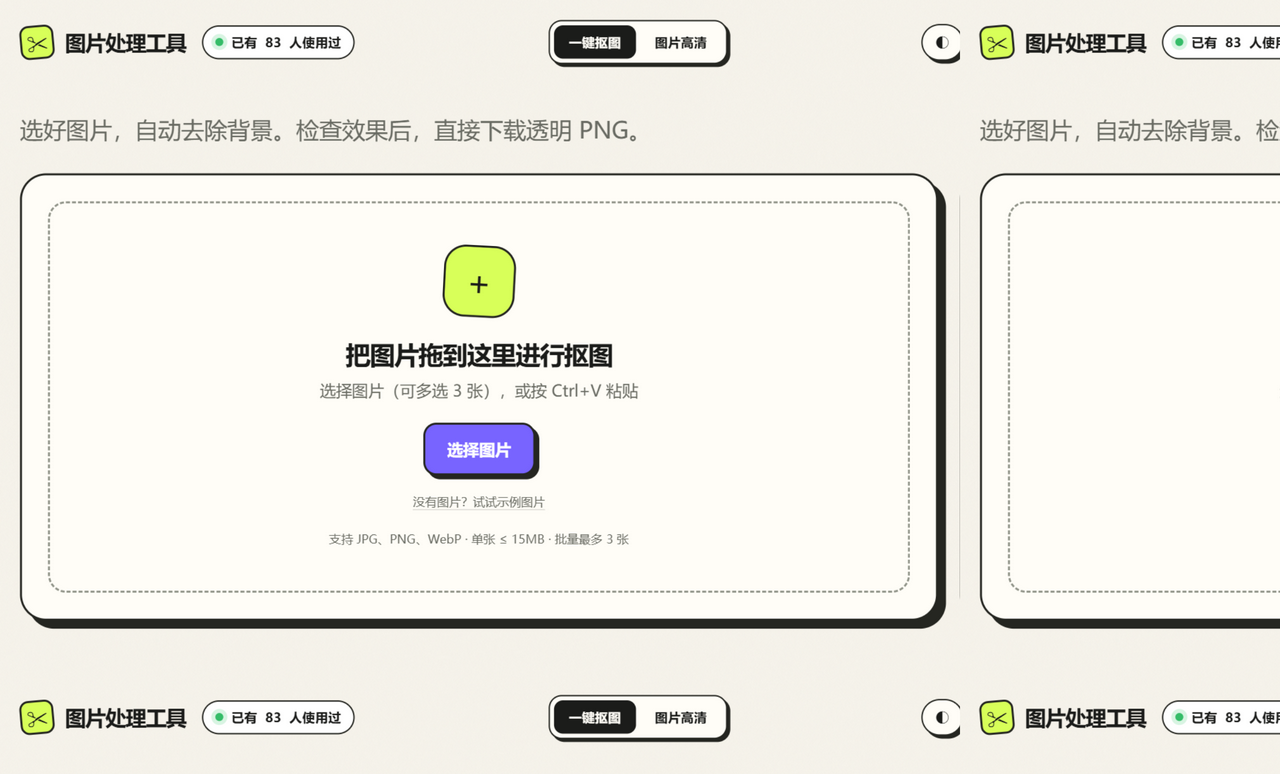
- Upload your ID photo to JuanJuan Tools
- Wait 3–5 seconds for the automatic cutout — the person is separated from the original background
- Download the transparent-background PNG
- In any image editor, create a canvas filled with the target background color, then drop the transparent PNG on top
Pros: free, fast, clean results. Best for: most people.
Method 2: Manual Change in Photoshop
- Open the photo and select the background with the Quick Selection tool
- Press Delete to remove the background
- Create a solid-color fill layer (Layer → New Fill Layer → Solid Color) and place it below the person layer
- Enter the target RGB value (e.g. 67,142,219 for blue)
Pros: full control. Cons: requires Photoshop and quite a few steps.
Method 3: Quick Trick Using the Sticker Border Effect
There's an even simpler route on this site:
- Upload the ID photo and remove the background
- Turn on the “Sticker Border” effect
- Set the border color to your target background (e.g. blue)
- Push the thickness up to 8–10% so the border fully covers the photo's edges
- Download — you now have a photo with a solid-color background
ID Photo Size Quick Reference
| Size | Dimensions (mm) | Pixels (300dpi) |
|---|---|---|
| One-inch | 25×35 | 295×413 |
| Two-inch | 35×49 | 413×579 |
| Small two-inch | 33×48 | 390×567 |
| Large one-inch | 33×48 | 390×567 |
Frequently Asked Questions
Q: There's leftover color at the edges after changing the background. What now?
Use the “Edge Cleanup” feature on this site — it automatically detects and removes residual background color along the edges. A strength of 55–70 works well.
Q: The photo doesn't print well after the change. Why?
Make sure the original photo has enough resolution (at least 300dpi). Low-resolution photos turn blocky when enlarged for printing.
Q: Will the exam system detect that the photo was edited?
Usually not. As long as the person is untouched and only the background color changed, editing typically goes unnoticed. That said, some strict scenarios (such as entry-exit travel documents) may require photos taken on site.